User:Mentormod08
Contents
INTRODUCTION TO HORDEMAIL
Horde Groupware Webmail Edition is a free, enterprise ready, browser based communication suite. Although there are several component to the suite, we are presently using only the mail and address book.
That being said, these components are feature rich, including
- Message filtering
- Message searching
- HTML message composition with WYSIWIG editor
- Spell checking
- Built in attachment viewers
- Encrypting and signing of messages (S/MIME and PGP)
- Keyboard navigation
- Full character set support for folders names and email messages
- Conversation view of all messages in a thread
- Folder tree in left menu pane
- Message previews in mailbox view
- Downloading of message attachments in a ZIP file
- Flexible, individual alias addresses
- IMAP folder subscriptions
- Shared IMAP folders
- Graphical emoticons
- Support for mailing list headers
- Forwarding of multiple messages at once
- Attachments sent as links
This guide is divided into two parts. Part 1 will present basic information for the new user to get up and running. Part 2 will present more advanced information for enhancing the user experience.
Part 1: Basic Use
URL and Login
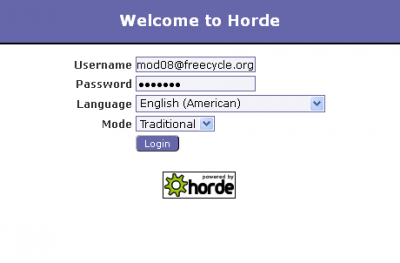
Open your web browser and enter hordemail.freecycle.org in the address box. At the login page, enter the Freecycle Moderator email address and password provided by the Mentor Mod Team Lead.
Choose your language, and maintain the default mode of “Traditional” for now. Click “Login”.
A successful login should open the Horde home page. The Hordemail window structure is a 3-pane window, with a tool bar on top, a navigation pane on the left side, and a content pane. The tool bar icons will change depending on which component is active.
The home page displays links to the active components (Mail, Filters and Contact Search).
Setting up User Information
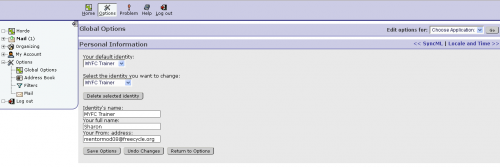
The first task a new user will want to complete is to setup personal information. From the tool bar, click “Options”. Under the catetory “Your Information”, choose “Personal Information”.
Hordemail assigns a default identity when the account is created, but you can have many aliases with different email addresses so that your email fits the role you assume. For example, if I am a mentor mod and a GOA, I would have a separate identity for both, each with their own signature and “From” email address (Mentormod@freecycle.org and Goa@freecycle.org).
Initially, the default identity will be “Default Identity”, and if you need only one, then you simply ignore the first two drop down lists, then complete the text boxes for your full name and your “from” email address. Save Options, and then Return to Options.
If you need more than one identity, open the dropdown under “Select the Identity you want to change”, choose “Create a New One”, and complete the text boxes for Identity’s Name, Your full name, and your “from “ address. Save Options, then create another identity if needed or Return to Options.
Next, you’ll want to set up your Locale and Time options. From the Global Options page, choose Locale and Time, and select the language, time zone and date formatting preferences you desire. Save Options and Return to Options.

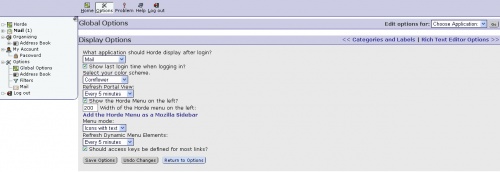
The last option group the basic user will want to set up initially is Display Options, located under the category “Other Information”. Choose your preferences from the dropdown lists, Save Options and Return to Options when done.


